 Muath Alsowadi
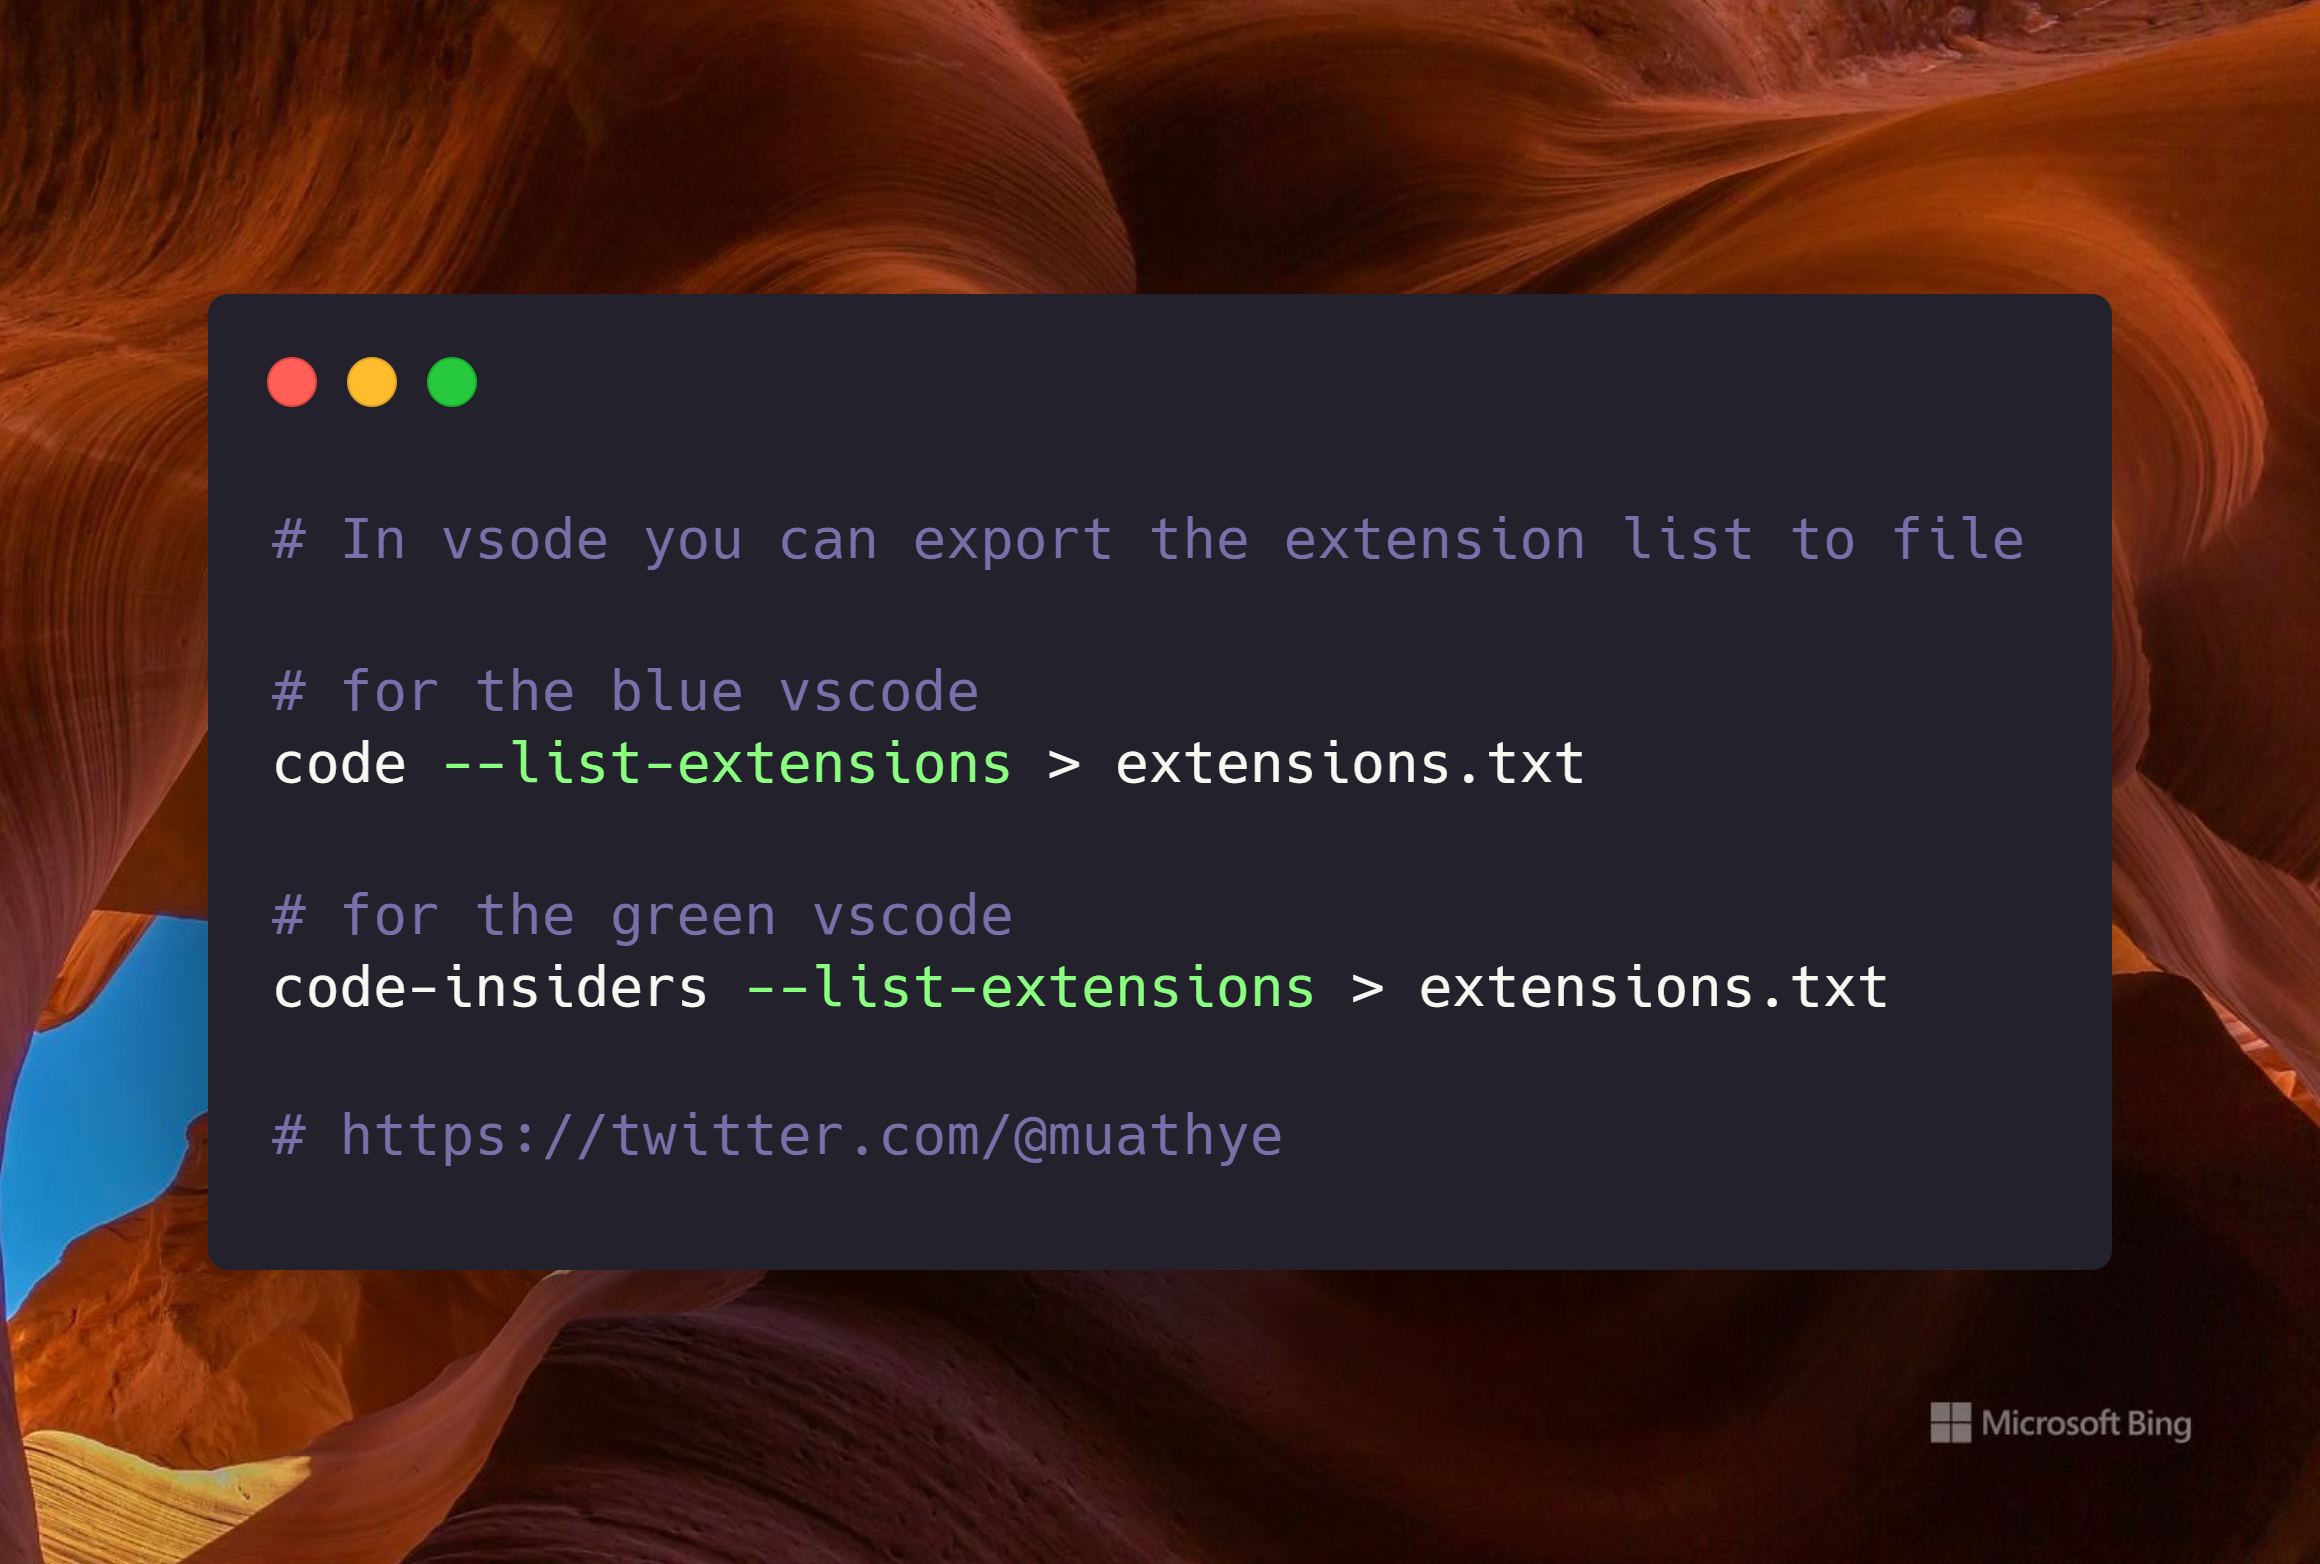
A Way to Export Visual Studio Code Extensions List and Pulk Install Them
Visual Studio Code is a popular text editor that offers a wide range of extensions to enhance your coding experience. If you use Visual Studio Code on multiple machines or want to keep a record of the extensions you have installed, you can export the list of installed extensions and install them on another machine.
In this article, we will show you how to export the list of installed extensions and install them on a new machine.
Export the List of Installed Extensions
To export the list of installed extensions in Visual Studio Code, follow these steps:
Open Visual Studio Code and click on the Extensions icon on the left-hand side of the window. In the Extensions view, click on the gear icon in the top-right corner and select "Open Extensions Folder". This will open the folder where all your extensions are installed. In the extensions folder, open the User folder. This folder contains all the extensions that you have installed. Open the terminal in this folder by right-clicking and selecting "Open in Terminal" or by using the keyboard shortcut Ctrl+Shift+~ (Windows/Linux) or ⌃⇧~ (Mac). In the terminal, type the following command and press Enter:
code --list-extensions > extensions.txtThis command will create a file named extensions.txt in the current folder and list all the extensions that are currently installed in Visual Studio Code. You can use this file to install the same extensions on another machine or to keep a record of the extensions you have installed.
Install the Extensions on a New Machine
To install the extensions from the exported list on a new machine, follow these steps:
Copy the extensions.txt file to the new machine where you want to install the extensions. Open a terminal on the new machine and navigate to the folder where you copied the extensions.txt file. Run the following command to install the extensions:
cat extensions.txt | xargs -n 1 code --install-extensionThis command will read the extensions.txt file and install each extension listed in it, one by one.
After the installation completes, you can verify that the extensions are installed by opening Visual Studio Code and checking the Extensions view. Note that some extensions may not be compatible with the version of Visual Studio Code that you have installed, or may have been removed from the Visual Studio Code Marketplace. In such cases, you may see errors during the installation process, or the extensions may not work as expected.
Exporting and installing Visual Studio Code extensions is a convenient way to keep your extensions up to date across multiple machines or to keep a record of the extensions you have installed. By following the steps outlined in this article, you can easily export and install your Visual Studio Code extensions on a new machine.
TIP
A Pro Tip: There is a better way to sync extensions between machines by sing in with github account on vscode for each machine.